
 Francais
How to Make a Planter Box with Cellular Concrete Blocks
How to Make a Planter Box with Cellular Concrete Blocks
How to Make a Planter Box with Cellular Concrete Blocks
Bricomachin presents to you today how to make a planter box with cellular concrete blocks: there are different ways to make planter boxes with cellular concrete. It all depends on your desires, expectations, its exposure, and whether you want your planter box to last for several decades or just a few years.
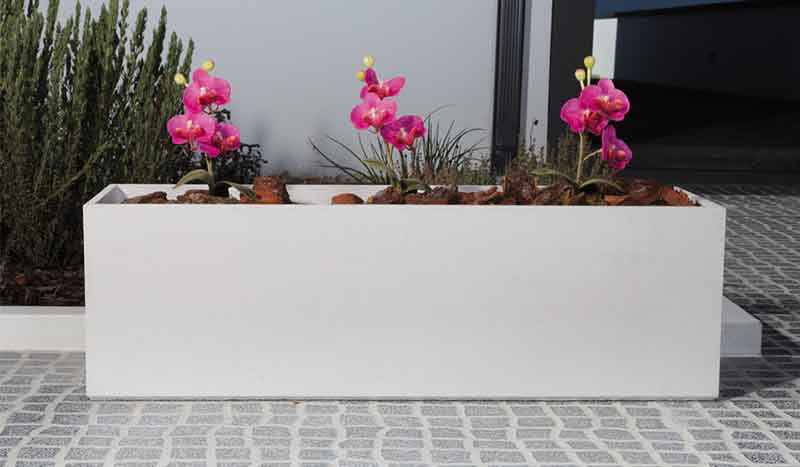
Discover how to make a planter box out of cellular concrete, a lightweight and durable alternative to wooden planters for growing your aromatic plants, flowers, and shrubs. Follow our advice and tips to create a decorative and functional container, suited to your plants and your outdoor space.
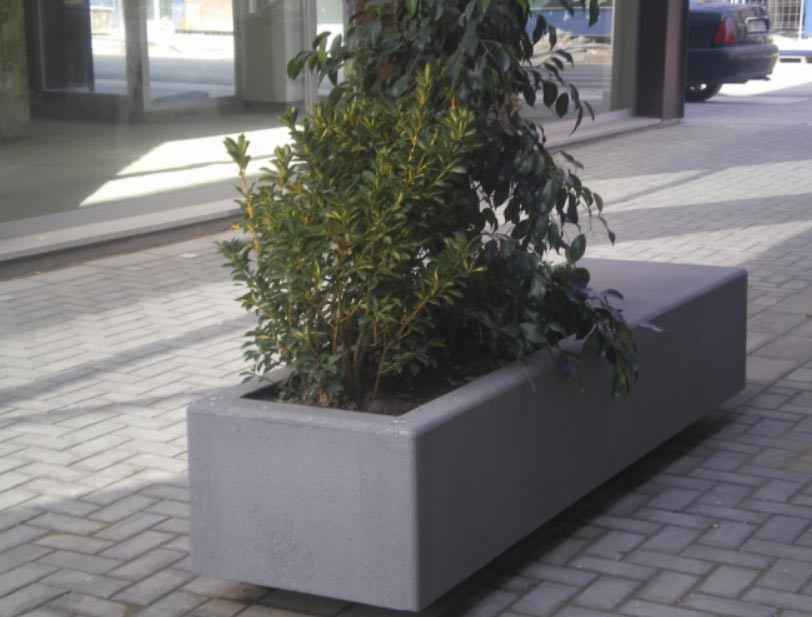
The advantage of the YTONG planter box (generally called Cellular Concrete or SIPOREX) is that you can make an aesthetic, solid, resistant planter box, but the weight (of the planter box structure) is quite light compared to another type of solid masonry. It is also very easy to cut this type of cellular concrete, allowing for various more aesthetic shapes than if you were working with concrete blocks.
Cellular concrete is a lightweight, resistant, and insulating material, ideal for creating an outdoor planter box. It is easy to work with and cut, and offers excellent durability against bad weather. To make your cellular concrete planter box.
Have you finished your work? But you still have quite a few cellular concrete blocks left. Why not make planter boxes out of them? It won't cost you much and you can reuse your last blocks!
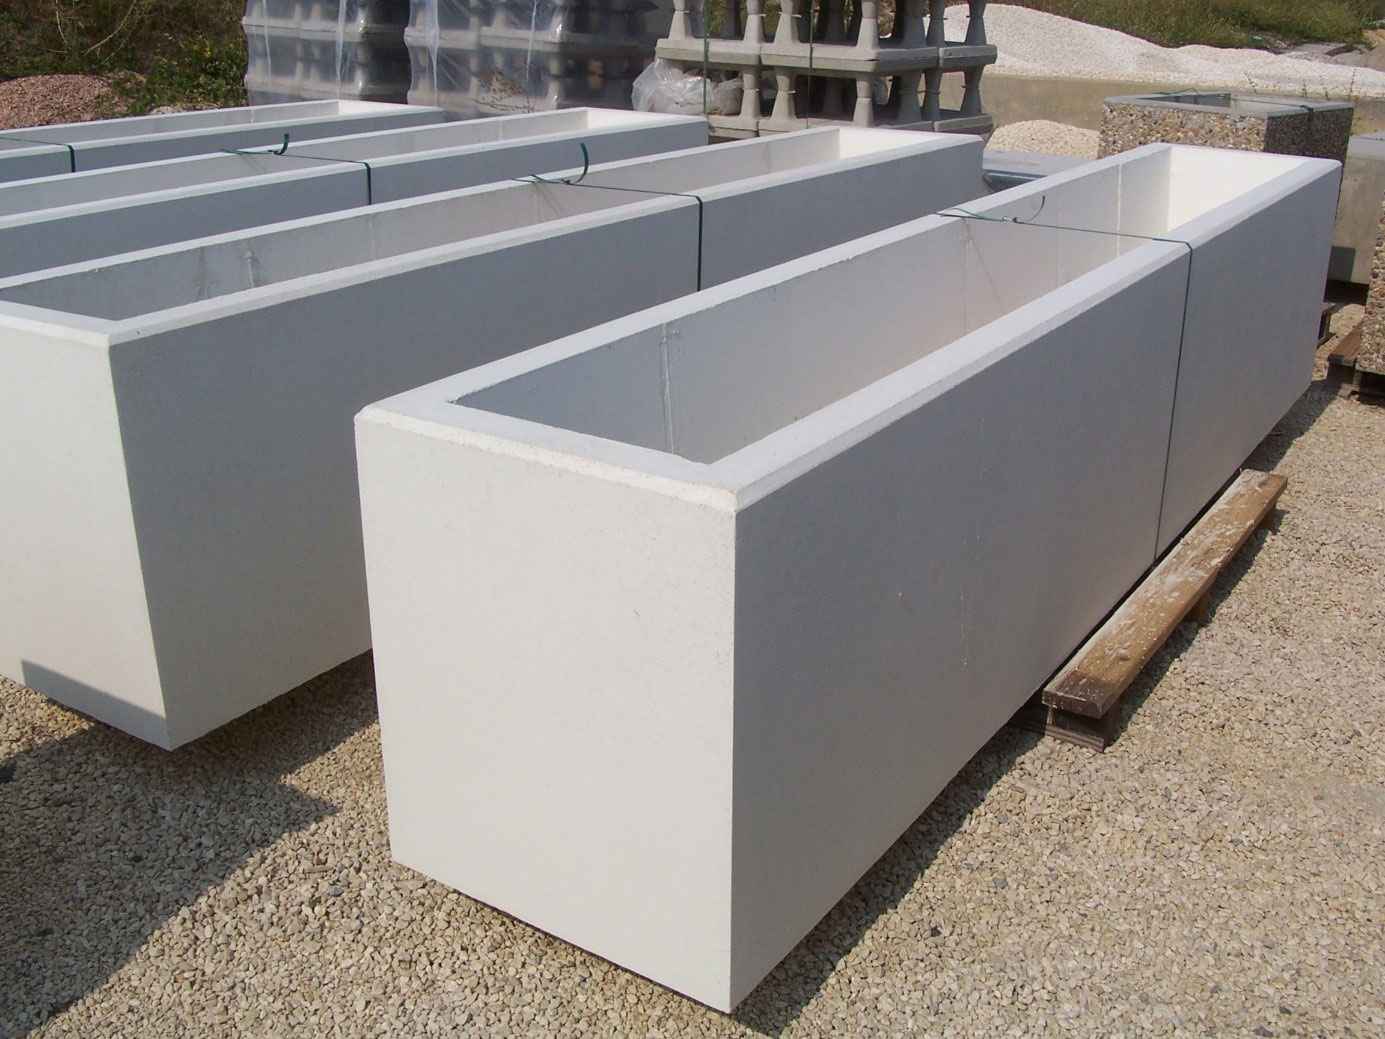
The advantage of these blocks is their weight. They are very light and therefore easy to handle.
You can create your custom-made planters and especially in the location you want since you can choose the dimensions. They can be used as a windbreak, to beautify an unsightly wall or fence.
You will need:
- 4 cellular blocks. You choose the dimensions you want. Here, we will explain how to assemble a planter box with only one block height. If you want to make a taller planter box, you can very well do it on 2 levels, i.e., 8 cellular blocks.
- A manual or electric saw
- Cellular concrete adhesive or special PU construction foam (like Rubson)
- A spirit level
- A rubber mallet
- Tar (optional)
- A hard waterproofing sheet (optional but recommended)
- Nails to fix the sheet (special nails exist, consult your sheet manufacturer)
- A hammer
- Soil mixed with potting soil or compost (for planting)
- Flowers or plants
- A coating (cement and sand) (optional depending on your desires and tastes)
- Paint to beautify everything (optional depending on your desires and tastes)

Let's get started, it's your turn to begin. Here are the steps to create your Siporex / YTONG or cellular concrete planter box.
Start by making a rough sketch on a piece of paper to help you later on make it a reality!
a) Start by placing the blocks in a square shape and glue them together using your cellular concrete adhesive or PU construction foam.
To achieve a nice finish, don’t forget to check that everything is straight using your level, and therefore tap your blocks with a mallet. You can also use a mason's string to make a straight line.
If you desire a rectangular planter box and you have 4 of the same blocks, you will then need to saw 2 blocks to make them smaller and thus fix them together so that they form a rectangle. If you prefer a square, you don’t need to saw anything if you have 4 of the same blocks!
b) Let dry for 24 hours if you used cellular concrete adhesive so that it’s solid enough to proceed. If you used PU foam to do this, you can wait about 2 hours.
c) Cut your waterproofing sheet so that it fits inside your planter box. Fix it in place with nails. The sheet must be placed tightly against the cellular concrete bricks: no play or space between the brick and the sheet is allowed.
d) Make holes at the bottom of your waterproofing sheet to allow water from your flowers to pass through: it is necessary to ensure sufficient drainage. Depending on the type of plant, you may even need to not place a sheet on the bottom of your pot, find out if necessary for your plant and/or flower. This step is very important before adding soil otherwise your flowers will be waterlogged and will not be able to develop and will probably die.
e) You have reached the finishing stage: it's much better to coat your concrete blocks so that the paint adheres better and you will not see the joints that you will apply later. Allow the coating to dry for 24 hours before applying the paint.
f) In a bucket, mix your soil – potting soil or soil-compost mix. Never forget that you need to nourish your plants and flowers!
g) Before planting your flowers, don’t forget to soak them in a bucket of water for a few minutes if they are potted plants; if you have bare roots, you can skip this step!
Tips for Personalizing and Decorating Your Cellular Concrete Planter Box
To give a personal and decorative touch to your cellular concrete planter box, you can:
- Paint or stain the planter in the color of your choice (anthracite grey, brown, taupe, etc.)
- Add battens, moldings, or wooden motifs to create a decorative effect
- Integrate a trellis or vertical structure to accommodate climbing plants
- Install casters or feet to raise the planter and facilitate its movement
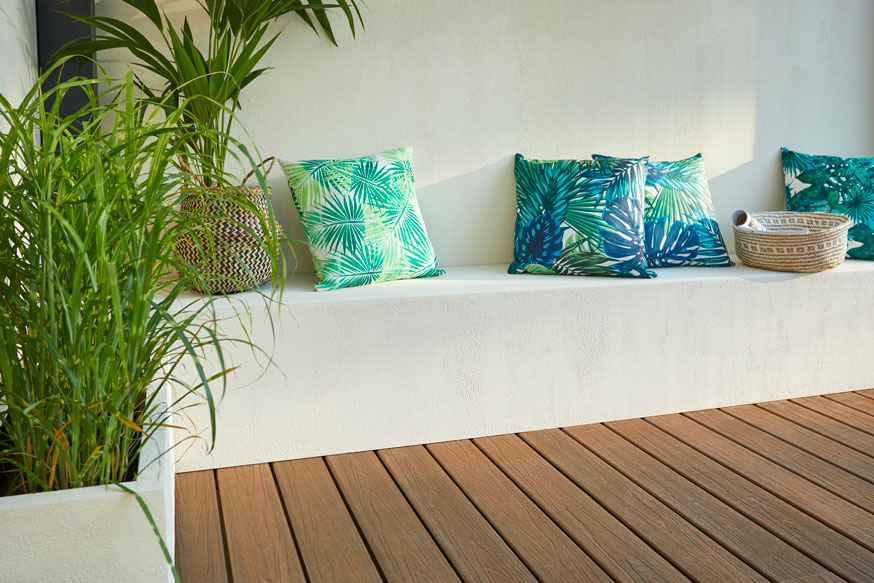
- Pair your cellular concrete planter box with other containers (terracotta pots, wooden planters, etc.) to create a harmonious and varied ensemble.
And there you go, your planter box is finished and ready to be placed. Isn't it the most aesthetically pleasing? :-)