
 Francais
How to properly glue PVC pipes for your water drainage on your own!
How to properly glue PVC pipes for your water drainage on your own!
How to properly glue PVC pipes for your water drainage!
Do you want to know all the secrets and tips for properly gluing your PVC pipes? Gluing a PVC pipe is relatively easy and quick, you'll manage it after one or two tries as long as you follow the steps below.
What is the purpose of PVC pipe assembly?
PVC pipe assembly is used to create piping networks for various applications such as plumbing, wastewater drainage, irrigation, drinking water distribution, etc. PVC pipes are lightweight, durable, corrosion-resistant, and easy to install, making them a popular choice.
What is a pipeline?
A pipeline is a system of pipes, conduits, or channels used to transport water from one place to another. Pipelines can be buried underground, laid on the ground, or installed in buildings or structures.
Example of pipelines
- Rainwater drainage
- Tap water evacuation to the sewer.
- Shower water drainage to the sewer.
- French drain evacuation.
How to recognize the diameter of PVC pipes?
- Look at the markings printed on the pipe: PVC pipes are usually marked with their nominal diameter (ND) or inner diameter (ID) in millimeters. The nominal diameter is a standard measurement used to designate the size of the pipe and does not always correspond to the actual inner diameter of the pipe. The inner diameter, on the other hand, corresponds to the distance between the inner walls of the pipe.
- Measure the outer diameter of the pipe: You can measure the outer diameter of the pipe using a caliper or a measuring tape. The outer diameter is generally slightly larger than the pipe's nominal diameter. You can then refer to a conversion chart to determine the corresponding nominal diameter.
Use a reference chart
You can use a reference chart to determine the nominal diameter of a PVC pipe based on its actual size. These charts are available online or in hardware stores.
| Outer Diameter (OD) in mm | Nominal Diameter (ND) in mm | Inner Diameter (ID) in mm |
|---|---|---|
| 25 | 20 | 16 |
| 32 | 25 | 21 |
| 40 | 32 | 27 |
| 50 | 40 | 35 |
| 63 | 50 | 46 |
| 75 | 63 | 57 |
| 90 | 75 | 69 |
| 110 | 90 | 84 |
| 125 | 100 | 96 |
| 140 | 110 | 106 |
| 160 | 125 | 119 |
| 180 | 140 | 134 |
| 200 | 160 | 154 |
| 225 | 180 | 174 |
| 250 | 200 | 194 |
| 280 | 225 | 216 |
| 315 | 250 | 241 |
| 355 | 300 | 285 |
| 400 | 350 | 331 |
| 450 | 400 | 382 |
| 500 | 450 | 433 |
| 560 | 500 | 484 |
| 630 | 600 | 577 |
| 710 | 700 | 671 |
Do you have projects in mind with PVC pipes? BricoMachin will explain in this article the main steps to easily glue your PVC pipes. This article does not cover the installation of PVC pipes with joints. Don't be afraid to cut the PVC pipe, it's always tricky to think "I hope I'll manage, otherwise my drainage will be out of service until I find a solution".
We will therefore present the way to glue a PVC pipe.
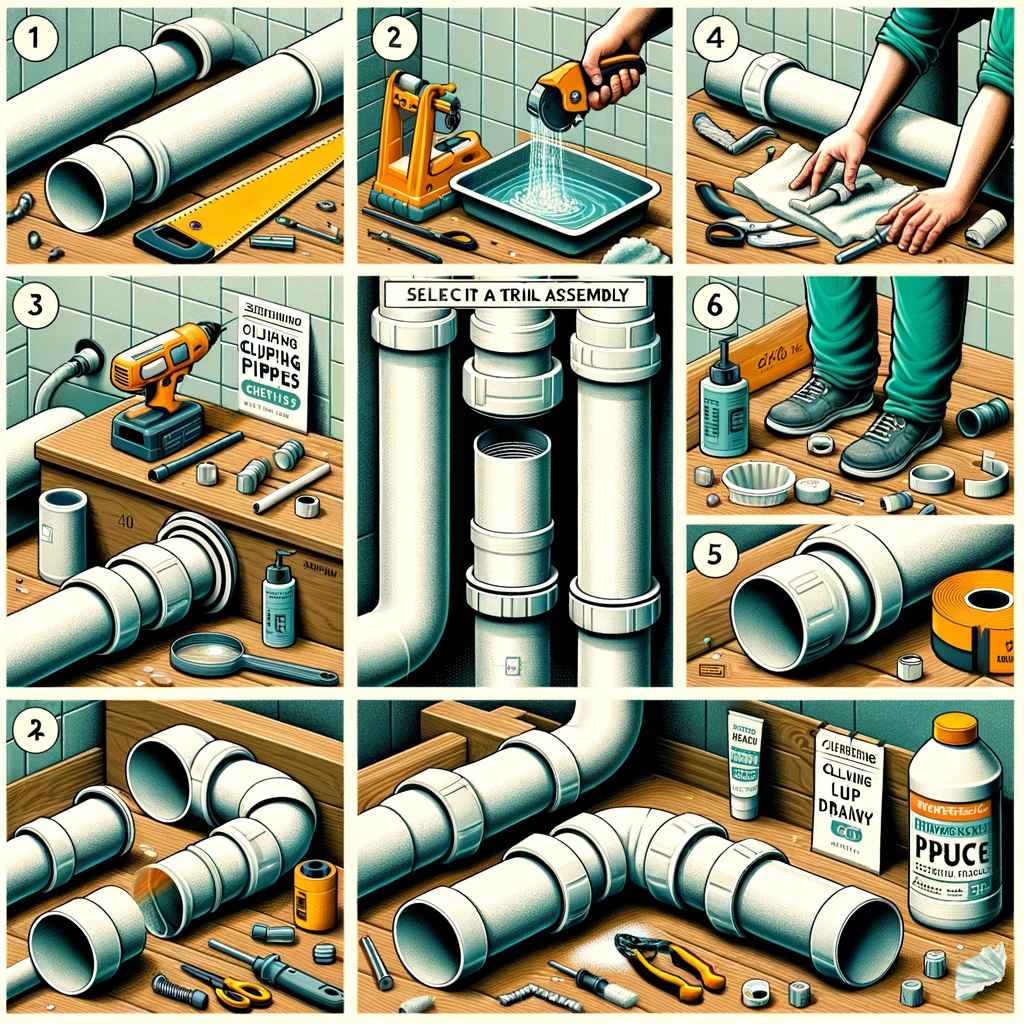
Let's summarize the steps to be taken:
- Choose the fittings, size, type of pipe!
- Cut the pipes, deburr afterwards, and chamfer the pipe
- Test your assembly before gluing
- Quick cleaning of these pipes
- Check the flow slope
- Glue the pipes
- Drying
- Use of the water drainage :-)
Let's summarize the material you need:
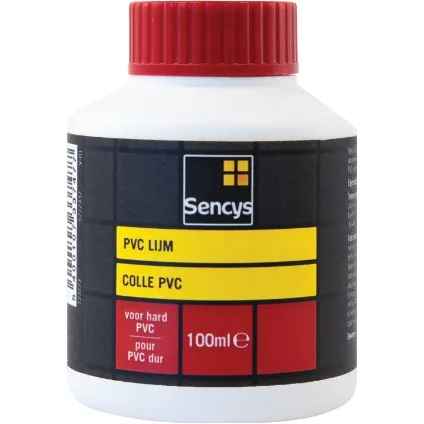
- PVC glue
- Metal saw or pipe cutting pliers
- Cloth
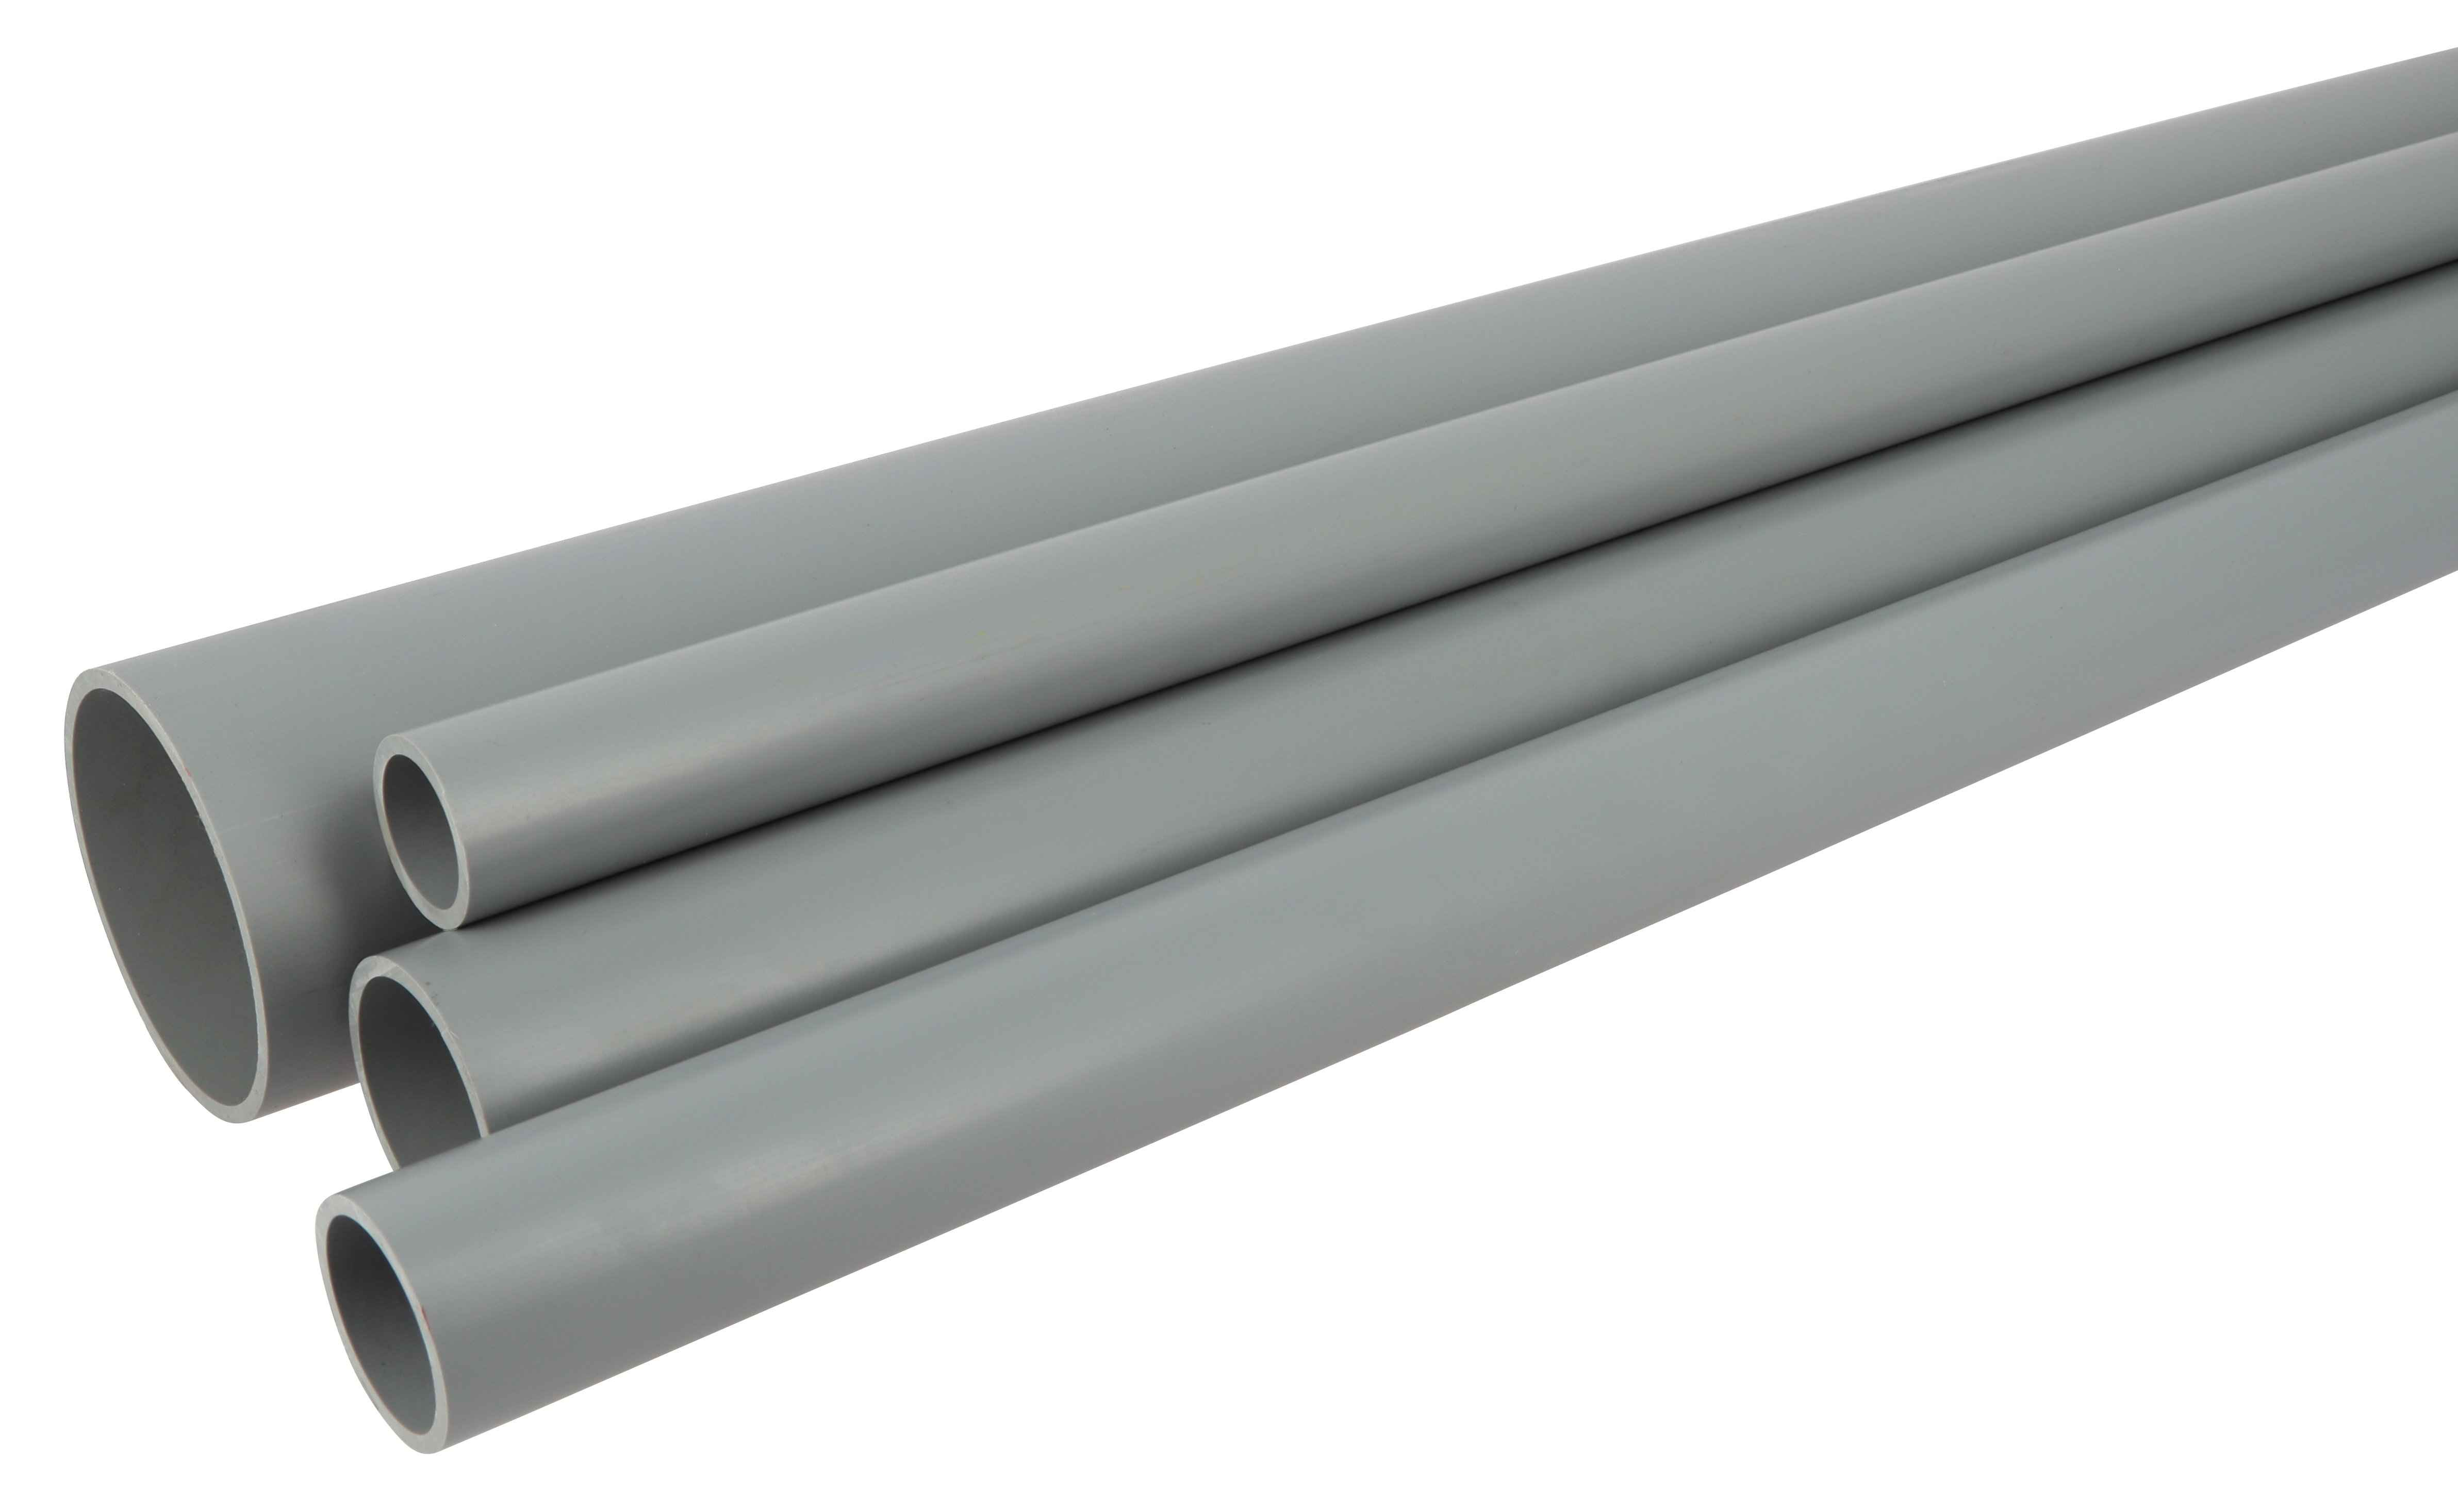
- PVC pipe, elbow, fitting, T, everything you need for your assembly!
1. Choose the right male/female ends and fitting.
The fitting must correspond to the diameter of the chosen tube but also to the right direction. A male fits into a female.
If you are missing a fitting, it's always tempting to rig another fitting, but Bricomachin advises against it, use the appropriate equipment, it will make your life easier especially if you are a beginner! Therefore, we are not covering the use of a heat gun to modify the aspect of the PVC pipe in this article.
2. Cut, deburr, and chamfer the tube.
This step is often neglected but is the most important. It's about cutting the PVC pipe to the right length, using either a metal saw, a PVC pipe cutter, or even a grinder if you are accustomed to working with this type of tube, the cut must be perpendicular, then you need to deburr the inside of the tube and chamfer the outside of the tube.
This chamfer prevents any small cutting issues from displacing the glue between the male and female parts.
Be very meticulous in this step No. 2. Everything hinges on this part for a successful assembly from the first attempt.
Be aware that BricoMachin advises against using a grinder if you have never done it before! It's reserved for the more experienced.
3. Always perform a dry assembly
You should always perform a trial assembly before starting to glue the pipes. This is even more true if you have several elbows, fittings, and pipes to fit in sequence: it's not always easy to find the right combination to drain the water.
Have you completed your dry assembly? If it's difficult to slide the pipes inside and then to retrieve each piece without fitting, you can use dish soap to help you slide the pipes into each other dry.
4. Clean your work
Indeed, before gluing, it is crucial to check that there are no residue remains in the pipe. Quickly pass a small cloth to ensure there is no dust or residue before gluing!
If you used dish soap to help you perform the dry assembly, you are obliged to leave no trace of this dish soap before applying the glue! Clean everything and dry!
5. Check the slope!
We deviate a bit from the article, but it's so important that Bricomachin must remind it: you must check the drainage slope of your assembly!
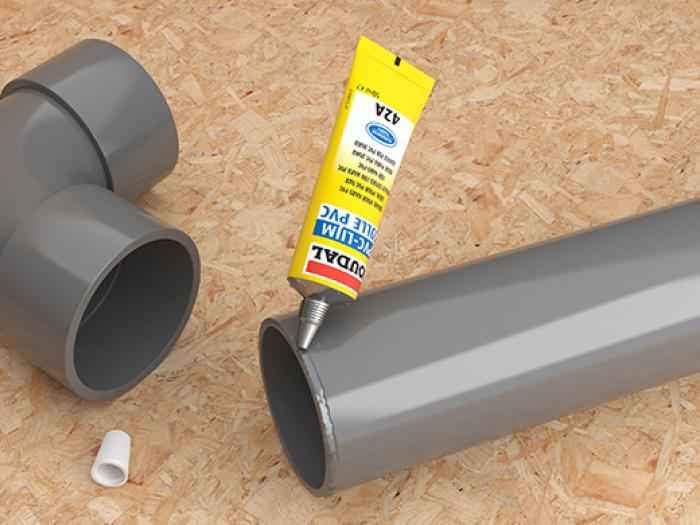
6. Properly glue the pipes
Use PVC pipe glue, there are different kinds, some dry very quickly, others withstand a bit more pressure, small pot, large pot, depending on your usage! Do not forget to respect the drying time indicated by your manufacturer. Some can be applied even if the environment is humid.
You should always start by gluing the female side and then the male side. You fit the 2 pieces together fully. Do it directly in the right way, do not turn the pipe and do not perform any twisting action, you will immediately damage the gluing process.
If there is too much glue, you can immediately wipe it off with a rag.
7. Let the glue dry according to your manufacturer's instructions.
If you have never glued a PVC tube before, Bricomachin advises you to start gluing with a small diameter section, for example, a pipe of 32 or 40. It will be much easier than starting to glue a pipe of 100 or 110.