
 Francais
Practical Guide: Sealing a Crawl Space or Technical Hole to the Outside
Practical Guide: Sealing a Crawl Space or Technical Hole to the Outside
You need to seal a hole from the crawl space to the outside!
How to seal a hole to pass a duct through an underground cinder block wall?
This operation seems quite simplistic, but must be carried out according to the rules of the trade, because sooner or later if you don't seal this hole properly, with heavy storms or heavy rainfall, rainwater could eventually seep into your walls and your ventilated or crawl space will be filled with water.
What is a crawl space or technical space?
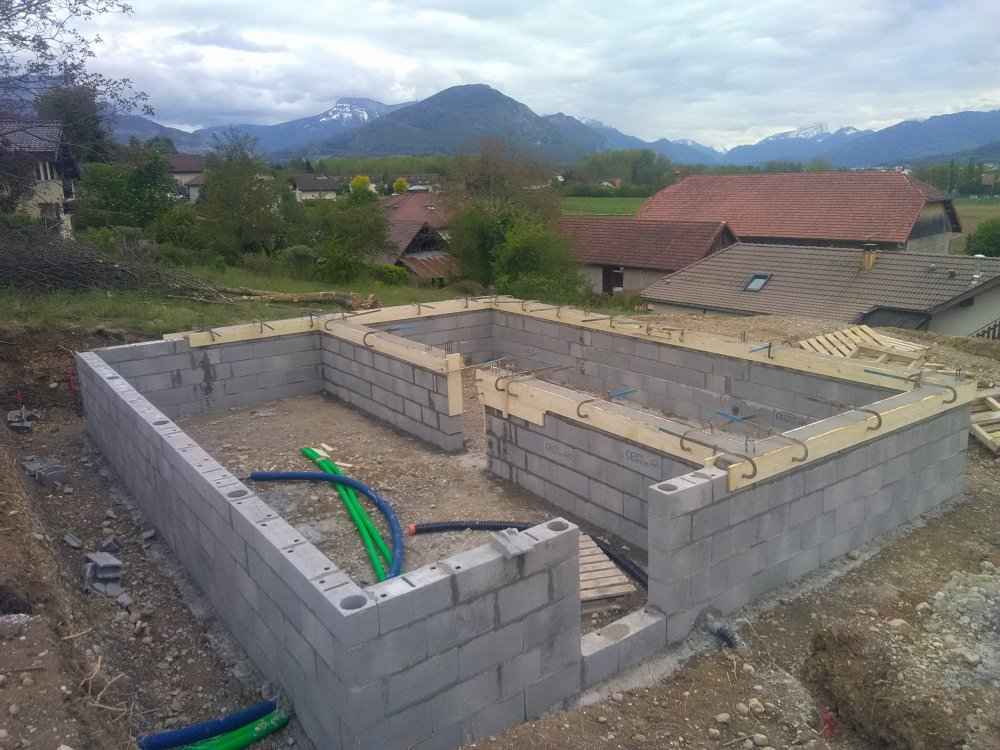
A crawl space or technical space is a space left between the ground and the lower floor of a building. It is generally created for reasons of thermal insulation, protection against moisture, or to allow the passage of pipes and technical ducts (electricity, plumbing, etc.).
This space, which can vary in height, also allows easy access to underground networks for maintenance or repair. It is often ventilated to prevent moisture and condensation problems.
The crawl space is a commonly used solution in the construction of single-family homes, especially in areas where the ground is humid or clayey. It is important to note that this space must be properly insulated and protected to ensure its effectiveness and prevent heat loss.
Where can holes occur in the technical space?
- Foundation walls: Foundation walls may have cracks or holes that allow air, water, and pests to enter the crawl space.
- Floors: Crawl space floors may also have holes or cracks, especially if they are made of wood and have been damaged by moisture or pests.
- Pipes and ducts: Holes may form around pipes and ducts that pass through the crawl space, especially if they have been improperly installed or maintained.
- Ventilation openings: Crawl space ventilation openings may be damaged or obstructed, leading to the formation of holes or cracks.
- Joints and junctions: Joints and junctions between different construction materials may degrade over time, leading to the formation of holes or cracks.
What are the causes of holes in crawl spaces?
- Natural wear and tear: Over time, construction materials may naturally degrade, leading to the formation of holes or cracks in foundation walls, floors, and other crawl space surfaces.
- Water damage: Water can cause significant damage to construction materials, especially if they are made of wood. Water leaks, excessive moisture, and flooding can all contribute to the formation of holes in the crawl space.
- Pests: Rodents, insects, and other pests can gnaw on construction materials, leading to the formation of holes in foundation walls, floors, and other crawl space surfaces.
- Installation errors: Errors in the installation of pipes, ducts, and other crawl space elements can lead to the formation of holes or cracks.
- Soil movements: Soil movements, such as settling or subsidence, can exert pressure on foundation walls and other crawl space surfaces, leading to the formation of holes or cracks.
- Natural disasters: Earthquakes, hurricanes, and other natural disasters can cause significant damage to homes and crawl spaces, including the formation of holes.
What are the dangers of holes in crawl spaces?
- Water and moisture infiltration: Holes in crawl spaces can allow water and moisture to enter your home, leading to mold, rot, and deterioration of wood and other construction materials.
- Air infiltration: Holes can also allow cold or hot air to infiltrate your home, leading to heat loss and an increase in energy bills.
- Pest infestation: Holes in crawl spaces can serve as entry points for rodents, insects, and other pests. These pests can damage construction materials, pipes, and electrical wires, and can also pose a health risk.
- Structural problems: Holes in crawl spaces can weaken the structure of your home, especially if the holes are large or if they are in load-bearing areas. This can lead to foundation, floor, and wall problems.
What materials to use to seal a hole in a crawl space
- Concrete: Concrete is a common choice for sealing holes in concrete foundation walls. It can be mixed with water and applied directly into the hole using a trowel or other suitable tool.
- Mortar: Mortar is a mixture of cement, sand, and water that can be used to seal holes in brick or stone walls. It can be applied in the same way as concrete.
- Sealant caulk: Sealant caulk is a flexible, water-resistant material that can be used to seal holes around pipes and ducts. It can be applied using a caulking gun.
- Waterproof PU foam: It is possible to apply a closed-cell PU foam to make it waterproof. This foam is more difficult to find in hardware stores.
Tips for ensuring a durable repair
Here are some tips from Bricomachin to ensure a durable repair of a hole in a crawl space:
- Identify the underlying cause: Before proceeding with the hole repair, it is important to identify the underlying cause of the problem and take necessary measures to eliminate it. For example, if the hole was caused by a water leak, it is important to repair the leak before sealing the hole.
- Choose the right repair material: It is important to choose the right repair material based on the type of construction material of the crawl space and the location of the hole. Repair materials should be resistant to water, mold, and pests to ensure a durable repair.
- Prepare the surface: Before applying the repair material, it is important to prepare the surface by removing debris and dirt and allowing the area to dry completely. This will ensure optimal adhesion of the repair material.
- Follow the manufacturer's instructions: It is important to follow the manufacturer's instructions for applying the repair material. This will ensure that the material is applied correctly and the repair is durable.
Preventing crawl space problems
- Insulation: Make sure the crawl space is properly insulated to prevent heat loss and moisture problems. Use quality insulation materials and ensure they are installed correctly.
- Ventilation: Proper ventilation of the crawl space is essential to prevent moisture and mold problems. Install ventilation grilles or air extraction vents to allow adequate air circulation.
- Sealing: Ensure that the floor and walls of the crawl space are sealed to prevent water and moisture from entering. Use waterproof membranes or special coatings to protect the surfaces.
- Drainage: Adequate drainage around the foundation of the house can help prevent moisture problems in the crawl space. Install gutters and downspouts to divert water away from the foundation and ensure the ground is sloped so that water moves away from the house.
- Regular inspection: Regularly inspect the crawl space for any signs of problems, such as water leaks, cracks in the walls, or signs of mold. If you notice any problems, have them repaired promptly by a professional.
- Pipe maintenance: Pipes that pass through the crawl space should be regularly maintained to prevent leaks and obstructions.
How much does it cost to repair a hole in the crawl space?
The cost of repairing a hole in a crawl space depends on several factors, such as the size and location of the hole, the type of construction material of the crawl space, the cost of labor, and the professional's travel expenses.
In general, the cost of repairing a small hole in a crawl space can range from 100 to 300 euros, while repairing a larger hole can cost between 500 and 1,500 euros or more. However, these costs are indicative and may vary depending on the specific circumstances of each case.
The first rule to remember to reduce the risk of problems is that the hole must be as small as possible to pass your cable!!
Let's get back to the subject. How to seal a hole from the crawl space to the outside!
Hole from the crawl space to the outside!
Introduction:
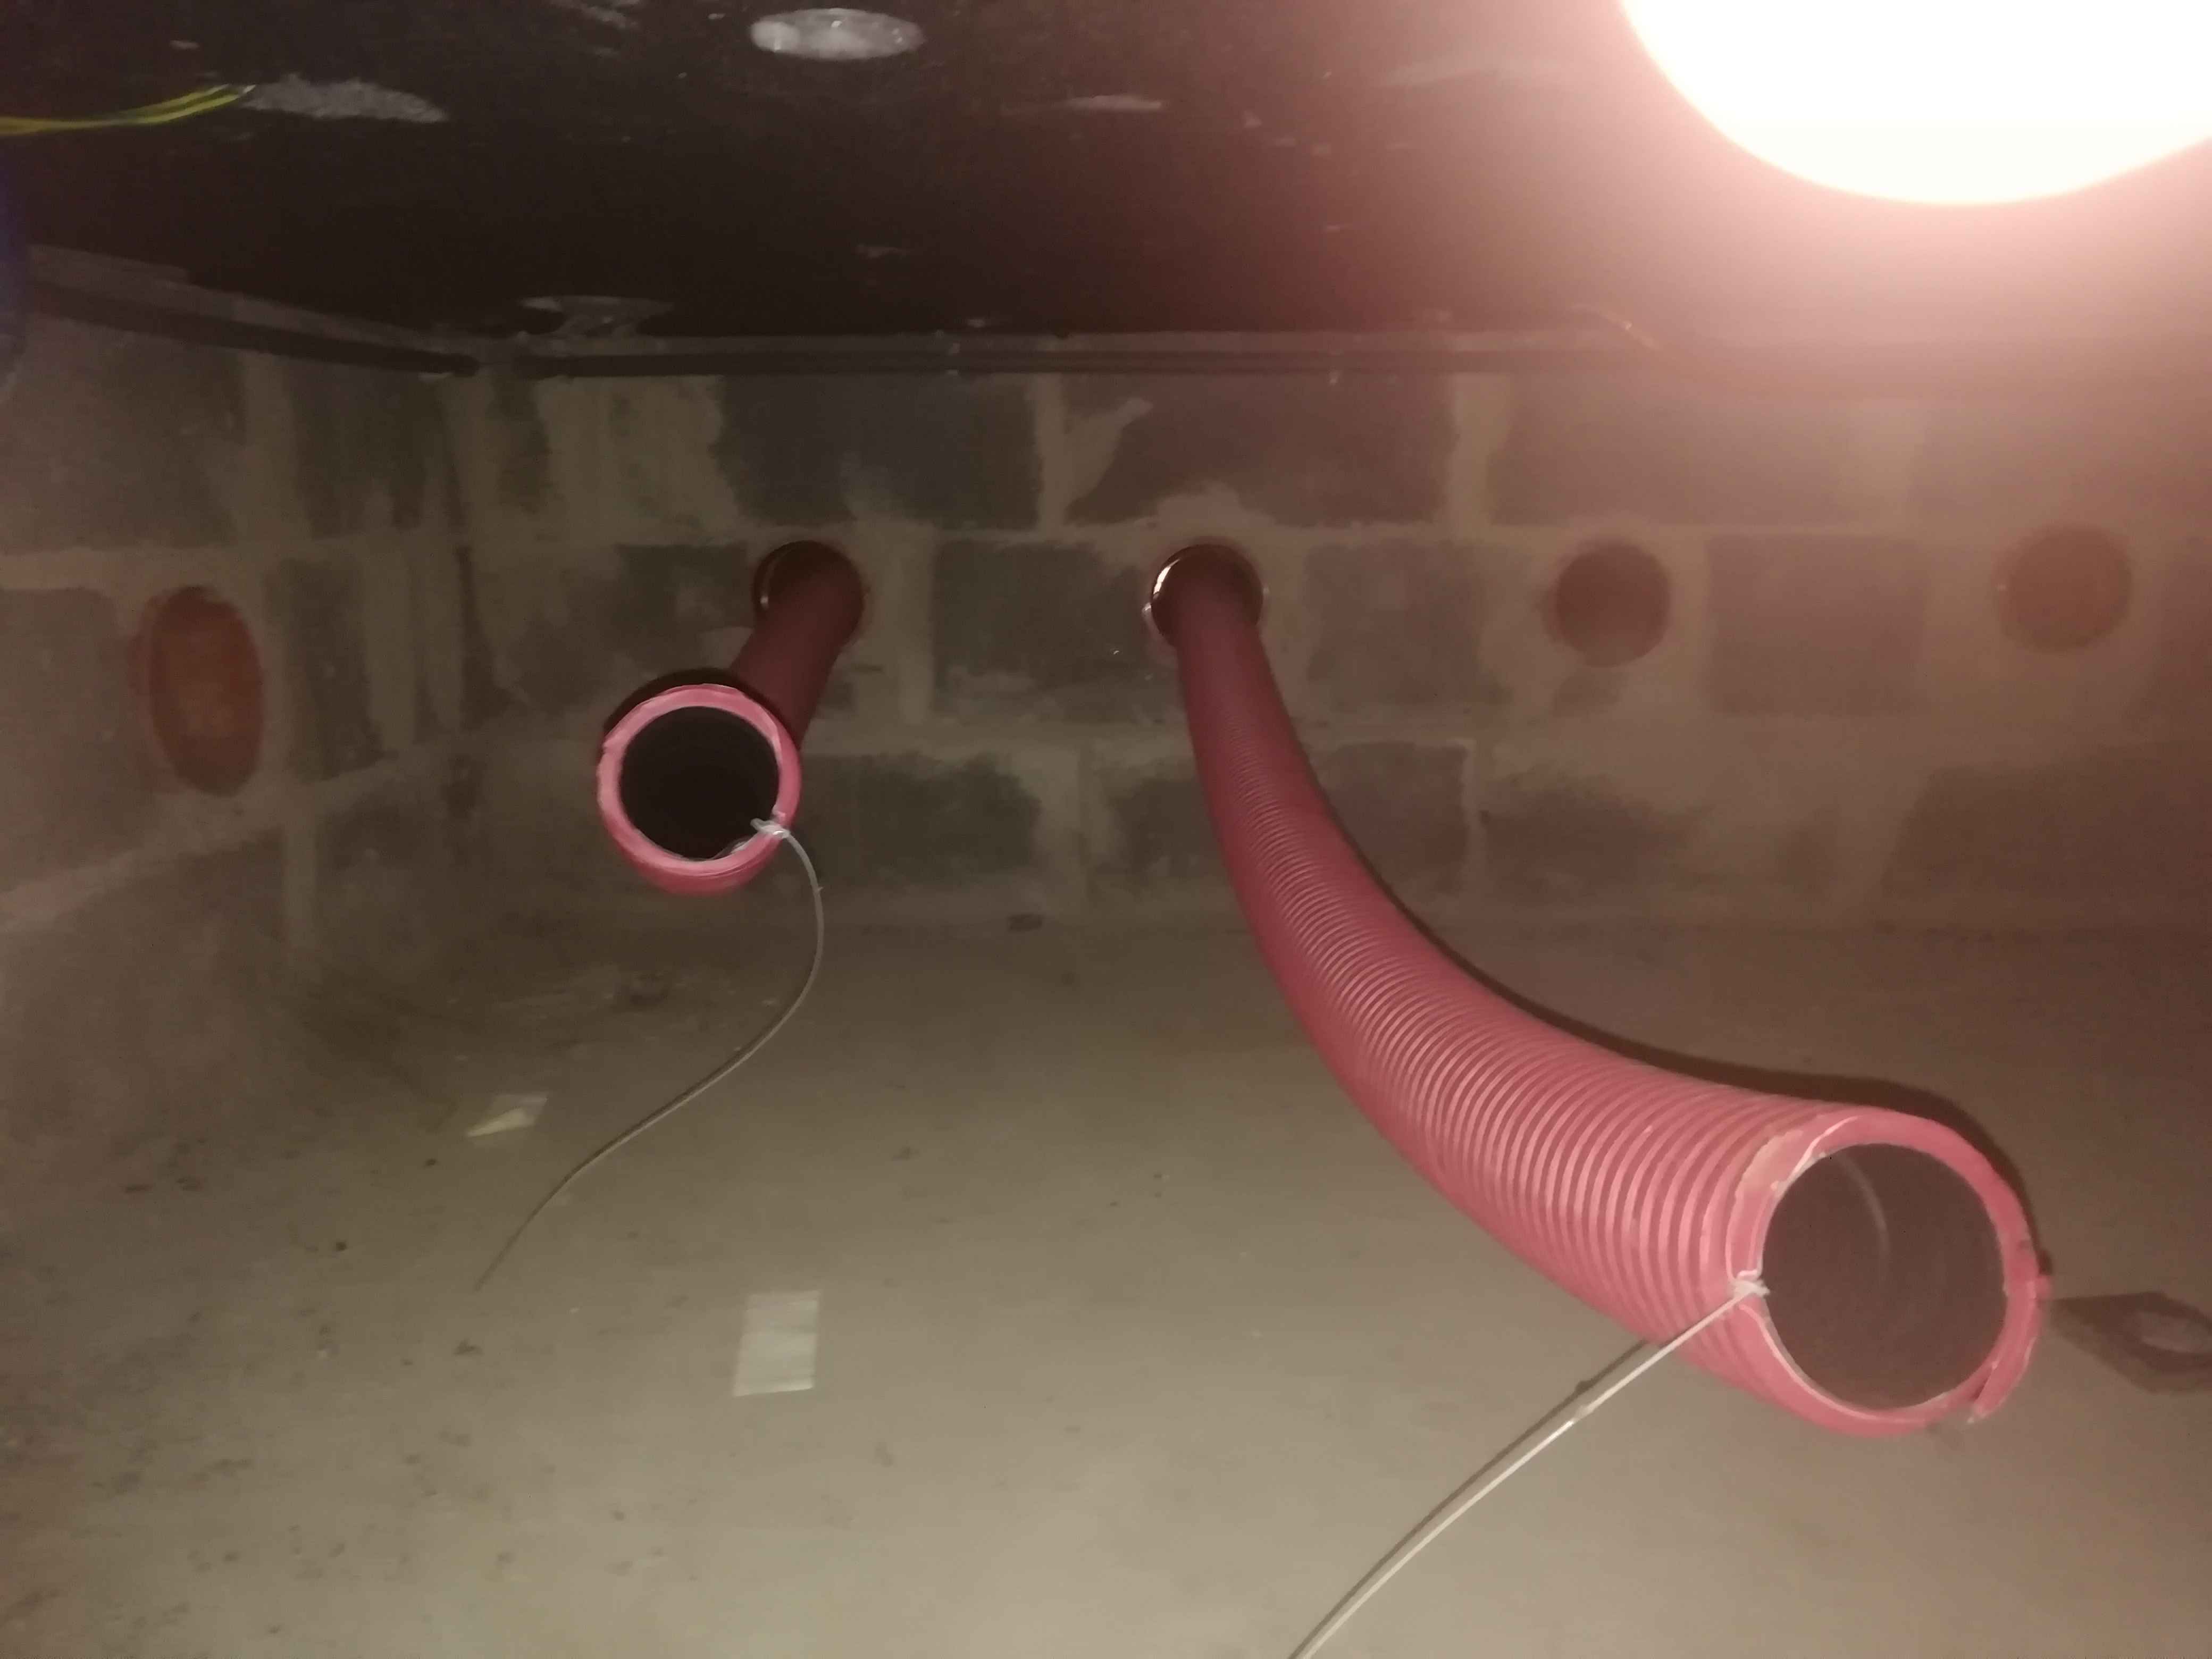
In our example, we need to run an RJ45 network cable from the ventilated space to an exterior pole to wire an IP surveillance camera.
Nothing exceptional, a few shovelfuls, the hole the right size, I take a drill, a large drill bit of over 20 cm and we start drilling.... Then I take my cable puller and in a few movements, I feed the network cable into the wall. and then I crimp the cable with the right tool!
The operation is finished, but now how to seal the hole?
Can I just close the hole like that with dirt? Since it's a small hole, there won't be any problem in the future! Well, that's less certain... You might not have a problem right away (and even that's not certain), but sooner or later you'll have an infiltration problem! The golden rule with water, it gets everywhere!
So, you have to seal this hole? Yes, but how? In just 3 steps!
Step 0 -- Materials list
* Cement and River Sand or pre-mixed mortar!
* Water
* Gloves
* Trowel (not necessary, you can seal by hand using gloves)
* Rigid waterproof membrane
* Bituminous coating for foundation
Step 1 — Preparation of mortar and sealing of the cinder block
This technique works with both concrete cinder blocks and clay cinder blocks.
Make mortar with some cement and river sand, personally I like sturdy mortars, I always use 1 part cement to 3 parts sand! If you're not used to making this kind of mix, there are bags of several kilograms of pre-mixed mortar available, you'll only need to mix it with a little water... There's no room for error!
You can always make your mortar waterproof and more sticky (but not necessary) with Compaktuna or Sikalatex. If it's a small hole, don't invest in these relatively expensive products.
When your mortar is prepared... Let your mortar rest for a few minutes before using it! Then, remix for a few seconds and seal the hole with your paste, the mortar should not be too liquid! Press firmly to have several centimeters in your wall! Be very meticulous in this step... No micro-hole allowed... Then, let the mortar dry for at least 24 hours.
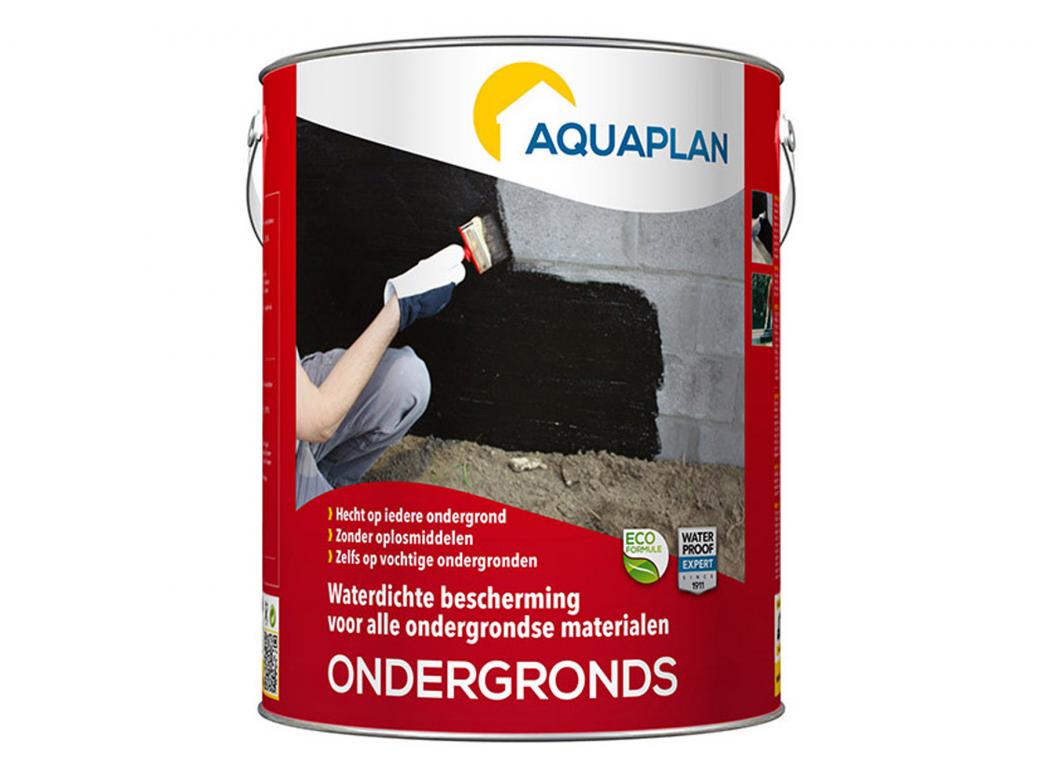
Step 2: Apply bituminous coating on the mortar (this product strongly resembles tar)
When your mortar is relatively hard.. You can apply this coating with a brush on your mortar... This product will ensure a certain waterproofing when it is dry! It's really effective. Let it also dry for 24 hours and apply a second coat! Be meticulous and don't hesitate to go 10 cm beyond your hole, because when this coating is dry it will look like a well-sealed sheet directly stuck to your wall....
Step 3: Apply a waterproofing membrane - grooved waterproofing membrane
When the bituminous coating step is finished and to guarantee long-term waterproofing, you still need to install a waterproofing membrane (kind of ribbon)! When you have unrolled the entire roll, you can directly put the soil on it! This membrane serves mainly 2 purposes:
- To protect step 2, namely to reduce the risk of deterioration of the tar you have put around and in the hole!
- To enhance the waterproofing with a "rigid" membrane
This membrane is rigid and you make it a little bigger than your pipe